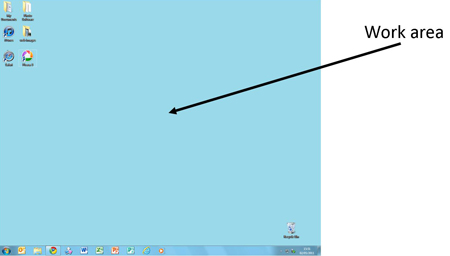
Follow these step-by-step instructions to familiarise yourself with the basic parts of your computer desktop
This article assumes that you have a PC using Windows 7. The
desktops of Apple Mac computers are quite different, as are those of
earlier versions of Windows.
Step 1: The first, and most important, part is the 'work area', which occupies the majority of the computer screen.
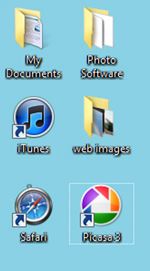
Step 2: If you use certain computer programs – now more
commonly known as ‘applications’ or ‘apps’ – frequently, you can make
it easier to reach them by placing a shortcut to them anywhere on your
desktop in the form of an ‘icon’, like those below.
Step 3: At the bottom of the desktop is a darker narrow
band. This is the ‘taskbar’. Here’s where you’ll find small icons of
various important programs and, on the right, a ‘Notifications’ area.
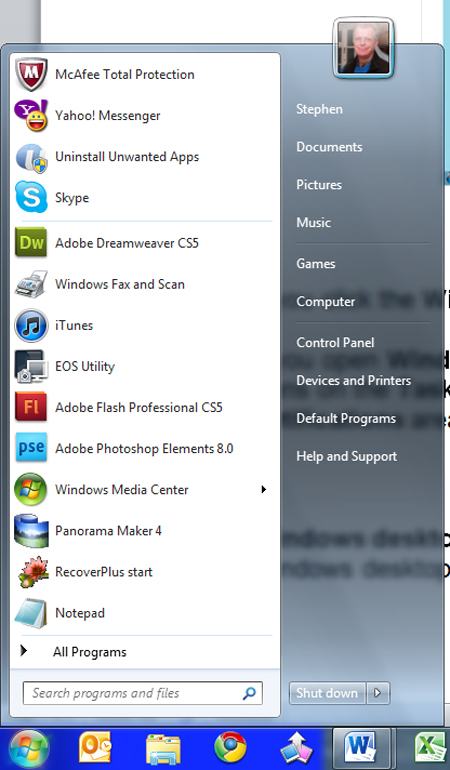
Step 4: If you press the ‘Windows’ icon in the far
left-hand of your taskbar, you’ll get access to frequently used
programs, the search box for programs and files, your documents, the
‘Shut down’ button and the control panel:

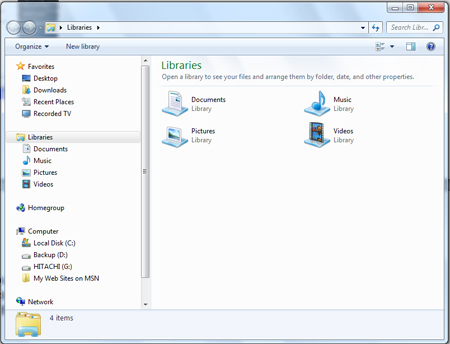
Step 5: When you click the Windows Explorer icon (see right) in the taskbar, you’ll find the libraries where your documents, pictures, music and videos can be opened:
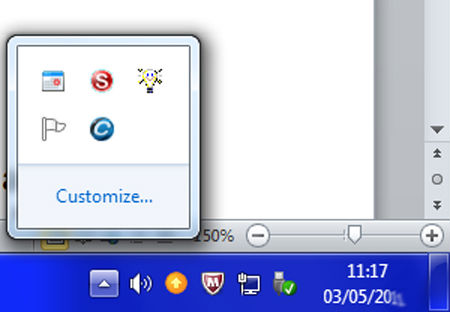
Step 6: Go to the far right of the taskbar. Messages
from Windows appear here, in the ‘Notifications’ area – for example,
telling you that a piece of hardware that you’ve just connected to is
ready to use. You can also see the date and time, plus useful items such
as the volume control (which you click to open). Some of the icons may
be hidden, but you can see them by clicking the ‘up’ arrow on the left.
Step 7: Now learn more about how the icons in the taskbar work.
You can ‘pin’ programs that you regularly use to the taskbar and then
open them even if there’s another one already running in the work area.
When a program is running, its icon always appears in the taskbar, with a
highlighted outline. And if this one program is doing more than one
thing, this will also be indicated in the taskbar.
Here, the Windows Photo Viewer program is showing one photo:

Here, it’s open for two different pictures:

Here, it’s open for three different images:

If you were to place your cursor over the Windows Photo Viewer icon now
without clicking, a small view of each file that’s open will appear:
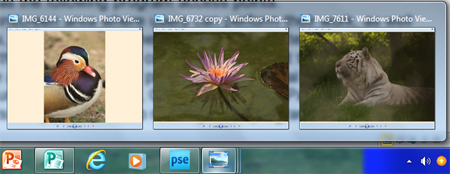
You could now click on the view that you want to use to open that particular file.
This is how any program that you’ve opened more than once will work in the taskbar.
Step 8: The above steps comprise a summary of what the desktop does. To learn about more features, go to Microsoft’s own explanation, where you’ll also find a video.
Tidak ada komentar:
Posting Komentar