Read on to learn:
- about the key benefits of wifi and the basics of how it works
- the general steps required for connecting to any wifi network
- how to set up and connect to a wifi network at home, using a Windows 7 computer as an example
Wifi: the key benefits and the basics of how it works
The benefit of wifi is obvious: a wireless internet connection means our devices are not tied to a fixed location within a property. You see, wifi transmits a property's internet connection via special radio signals, allowing us to move around from one room to another, with no interruption to our internet connection.This is obviously super handy for users of laptops, tablets and mobile devices. Once we're connected to wifi, access to the internet is suddenly so much more convenient and flexible.
Sunny day outside? Why not catch up on your emails whilst sipping a coffee in the garden — with wifi, you can!
The basics of wifi in summary:
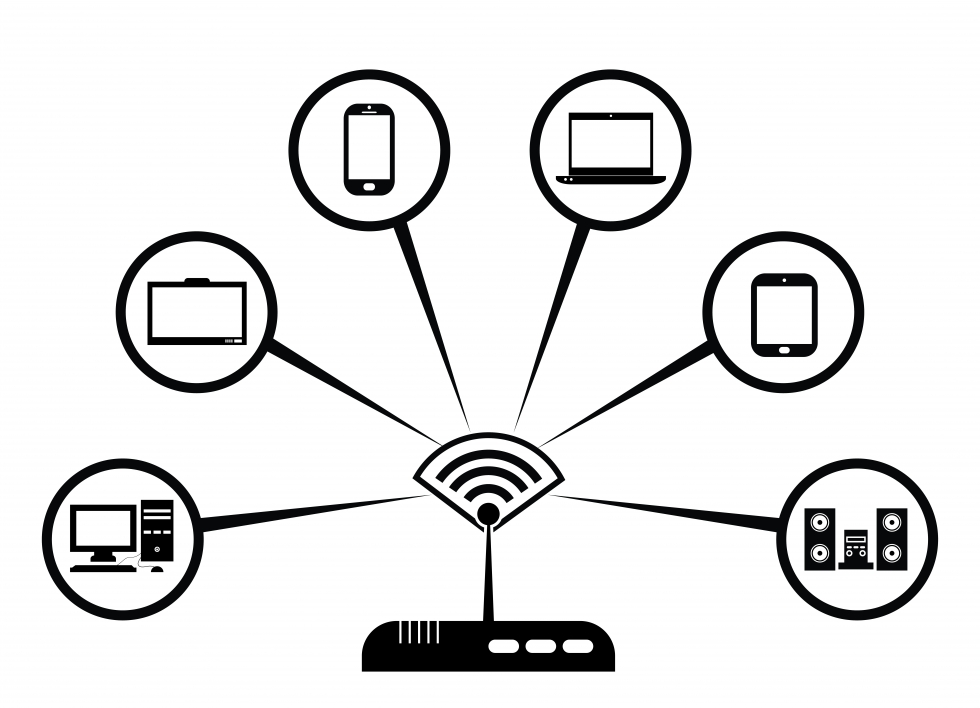
- Wifi is the wireless technology that all internet-enabled devices use to get online — without messing around with cables.
- Home wifi internet is made possible via a wireless router, which is basically a box that transmits and receives wireless signals between an internet connection and internet-enabled devices.
- To communicate with a router and connect to wifi, a device must have a wireless adaptor. Most internet-enabled devices today come with a wireless adaptor built in — but older computers may require a plug-in adaptor in order to get online wirelessly
General steps to connect to a wifi network near you
The following steps run through the general steps that anyone needs to take to get connected to the internet via wifi.Step 1: Locate yourself in a property or public space that has a wireless router. I.e. Somewhere where a wifi signal is being transmitted.
Step 2: Make sure that the device you're going to use is a.) Capable of connecting to the internet and b.) Capable of connecting to wifi.
Step 3: Find out the name of the wifi network that the router in your location is transmitting. That's right, each wifi network has its own unique name. Sometimes this can be a sequence of random numbers and letters if it was set by default on the router — but people often personalise the name of a wifi network to help users identify its owners. E.g. "The Smith Family wifi" or "Fred's Cafe".
Step 4: Once you know the name of the wifi network, use your chosen device to find it. This will vary between devices (depending on whether you're using a Windows or Mac computer, or a mobile device). However, the process for connecting to wifi is broadly similar, following something along the lines of: navigate to wifi settings > turn wifi on > click on the name of your wifi network > click "connect".
Step 5: Many wifi networks are made private, with access restricted via a password. If your chosen wifi network is password protected, at this point it will ask you enter that password. Make sure you have the password at hand, and enter it.
You should now be connected to wifi!
An example of how to set up and connect to wifi at home (using a Windows 10 computer)
What you’ll need:
- a wireless router
- a Windows 10 computer with a built-in wireless adaptor or a separate adaptor.
Follow these step-by-step instructions to connect to wifi
 Step 1:
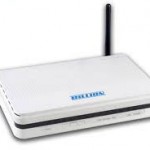
Set up your wireless router - an example of which is on the right -
(see How to connect to the internet for instructions). Most internet
providers now supply wireless routers as standard. When setting up one,
it’s important to provide appropriate security so that your computer
can’t be entered by anyone but you. Instructions for this should be
supplied with the router, but if in doubt, consult an expert.
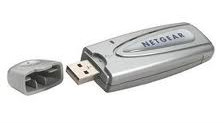 Step 2: Check that your computer has a built-in wireless adaptor (see left). Up-to-date laptops generally have one, but most desktop computers don’t.
To check whether there’s a built-in adaptor, follow these steps:
- Click the Start button.
- Right-click Computer.
- Click Properties.
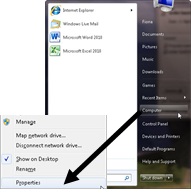
- Click Device Manager.
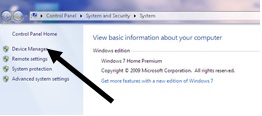
- Click the arrow next to ‘Network Adaptors’ to see if there’s a wifi adaptor listed.
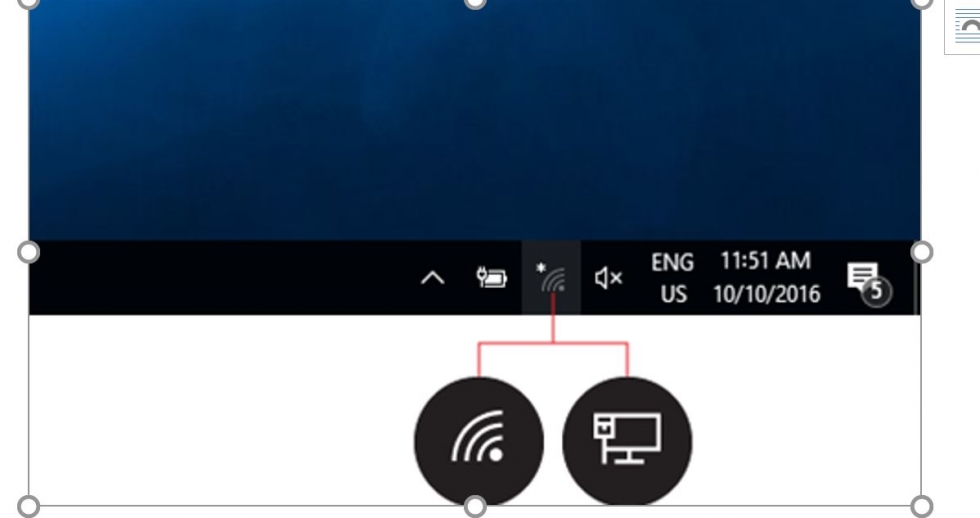
If there is a wifi adaptor, a wifi icon should also appear in the system
tray in the bottom right-hand corner of the screen. In Windows 10,
it looks like the one on the right.
If you don’t have a wireless adaptor, you’ll need to buy one to plug
into one of your computer’s USB ports. The adaptor should be supplied
complete with instructions on how to use it to connect to a wireless
network.
For laptops select the Network icon on the taskbar. The icon that
appears depends on your current connection state. If you don’t see one
of the network icons below or a similar one, select Up arrow icon to see
if it appears there.
 Step 3:
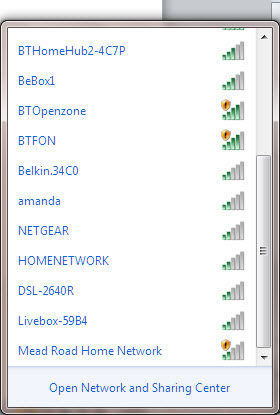
To connect to a wireless network, click the wifi icon. You should now
see a list of available networks – an example is on the left.
Step 4: To connect to a network, just click on its
name. If it’s a secure network and it’s the first time you’ve used it,
you’ll need a password. If it’s your home network, your internet
provider will have given you a password – sometimes it’s printed on a
sticker attached to the router.
If you’ll be using the same connection regularly, you can tick the box to connect automatically.
Step 5: The first time you connect to a network, you’ll be asked to choose whether it’s a home, work or public network.
Warning: Be very careful if you connect to unsecured wireless networks
such as wifi ‘hotspots’ in public places. While on them, it’s important
not to use websites that require you to enter personal or financial
details as other users of the network could gain access to these
details.
Tidak ada komentar:
Posting Komentar